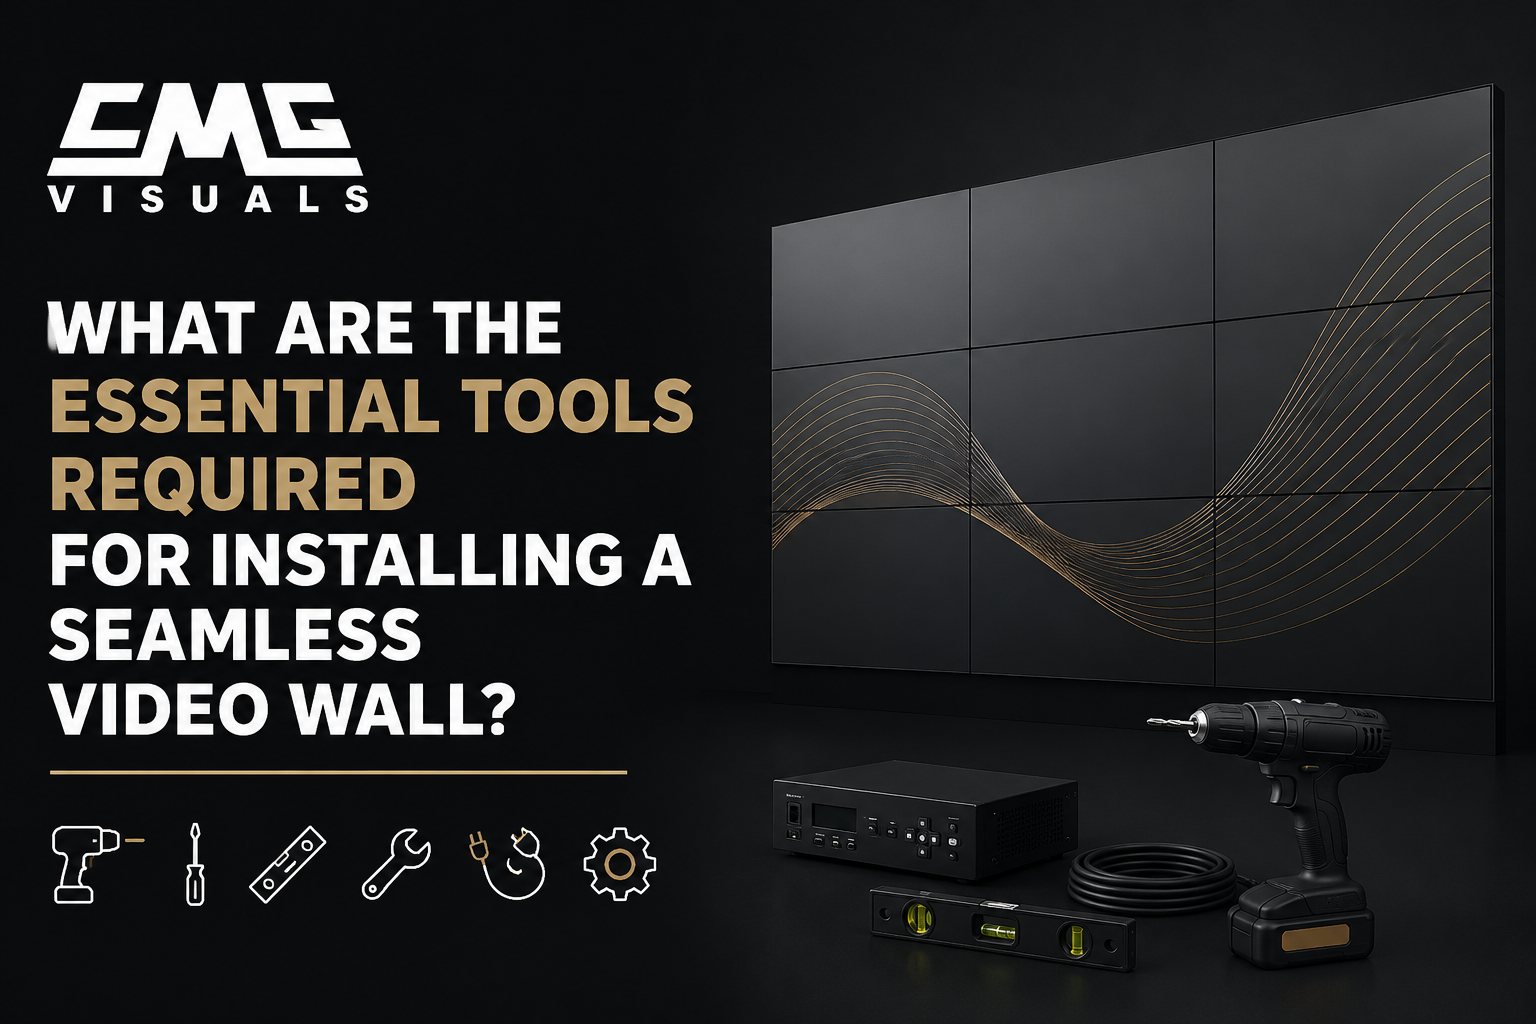
A video wall looks effortless when it is done right. Clean edges, perfectly aligned panels, no color variation between modules, and a single seamless image across the entire surface. But that result does not happen by chance. It starts long before anyone touches a panel, and it depends entirely on having the right tools for the job.
At CMG Visuals, we have completed LED video wall installations across Dallas, Fort Worth, Frisco, and beyond, in churches, corporate lobbies, retail spaces, broadcast studios, and conference rooms. Every single one of those projects required a specific set of tools, and missing even one of them on install day creates delays, alignment problems, or worse, damaged panels.
This guide covers every essential tool category you need to install a seamless video wall, and why each one matters. Whether you are a professional installer or a business owner trying to understand what the process involves, this will give you a clear picture of what goes into a proper installation.
1. Structural Mounting Hardware and Wall Assessment Tools
Before a single panel goes up, you need to know exactly what you are mounting into. The wall structure determines everything about how the mount gets built, and getting this wrong creates serious safety and alignment issues down the line.
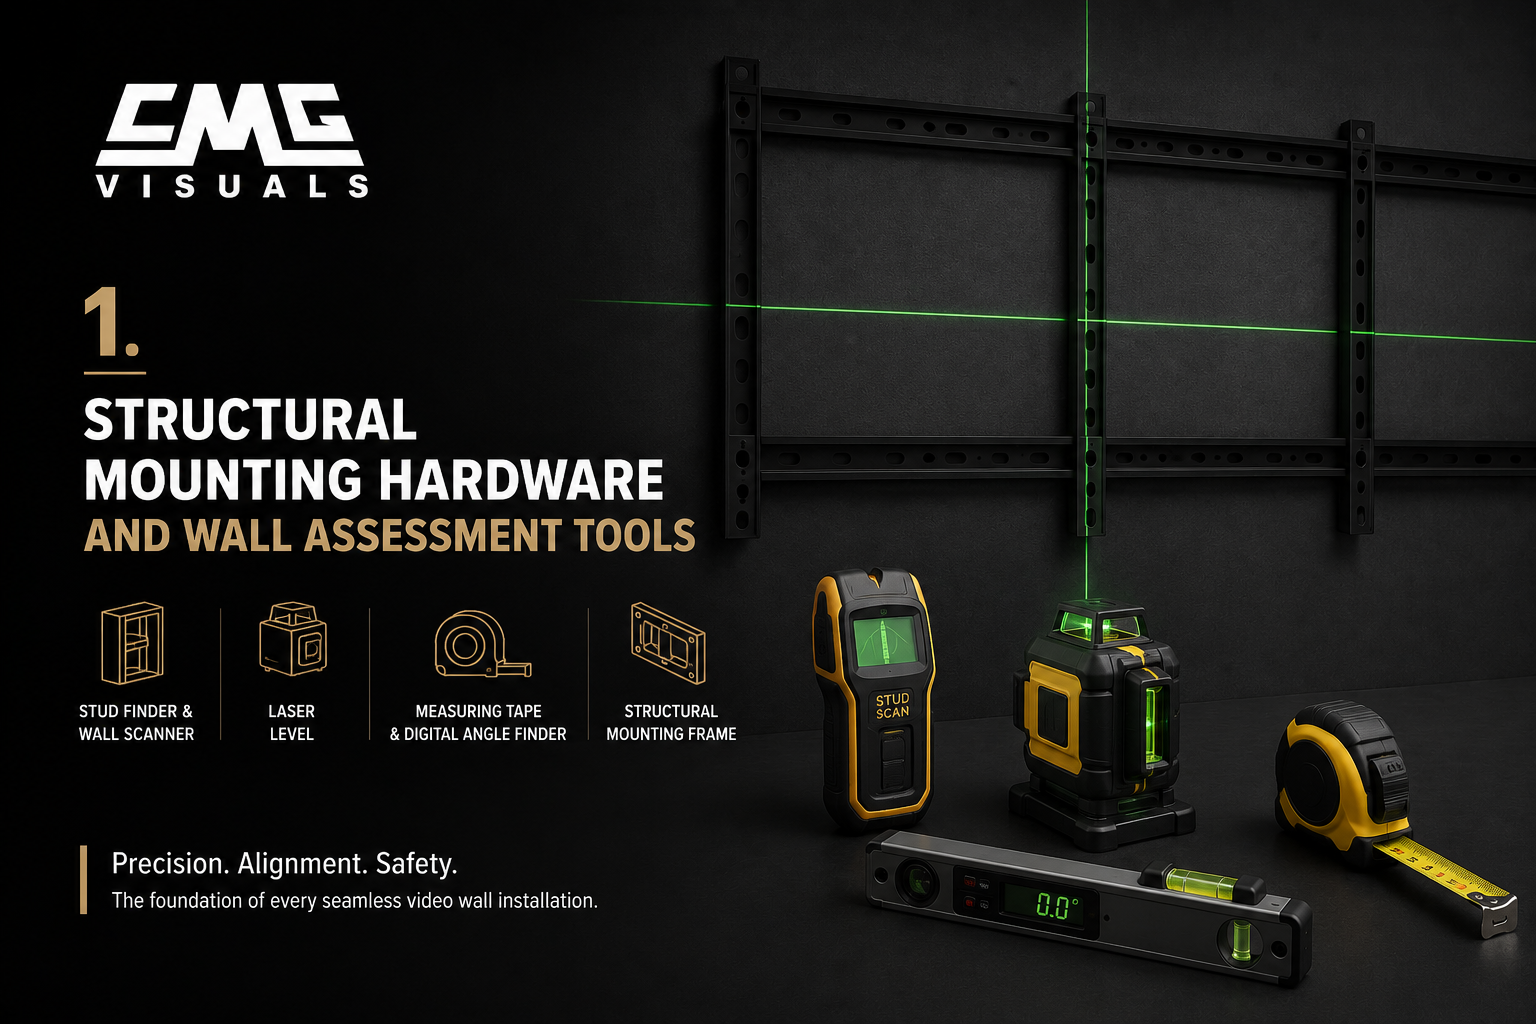
Stud Finder and Wall Scanner
A stud finder locates the framing behind drywall so mounts can be anchored securely into load bearing material. For heavier installations, a wall scanner that detects rebar, electrical conduit, and plumbing is equally important. Mounting into drywall alone is never acceptable for a video wall installation.
Laser Level
A laser level is non-negotiable for a seamless video wall. Even a slight angle compounds across multiple panels and becomes very visible once the wall is powered on. A high quality self leveling laser level projects a perfectly horizontal and vertical reference line across the entire installation area before anything is mounted.
Measuring Tape and Digital Angle Finder
Precise measurements determine where the mounting structure sits relative to floor, ceiling, and side walls. A digital angle finder confirms that corner brackets and edge frames are perfectly square. Eyeballing this is not an option on a professional installation.
Structural Mounting Frame or Custom Rigging
Most professional LED video wall installations use a dedicated mounting frame system rather than individual wall brackets per panel. The frame creates a flat, level, and rigid surface that all panels attach to uniformly. For specialty configurations like curved walls, angled installs, or ceiling mounts, custom rigging is required. You can see examples of these setups in our specialty LED rental and installation work.
2. Panel Handling and Lifting Equipment
LED panels are precision electronics. Dropping one, flexing one incorrectly, or touching the LED surface directly can cause damage that is not always visible immediately but shows up as dead zones or color inconsistencies after power on.
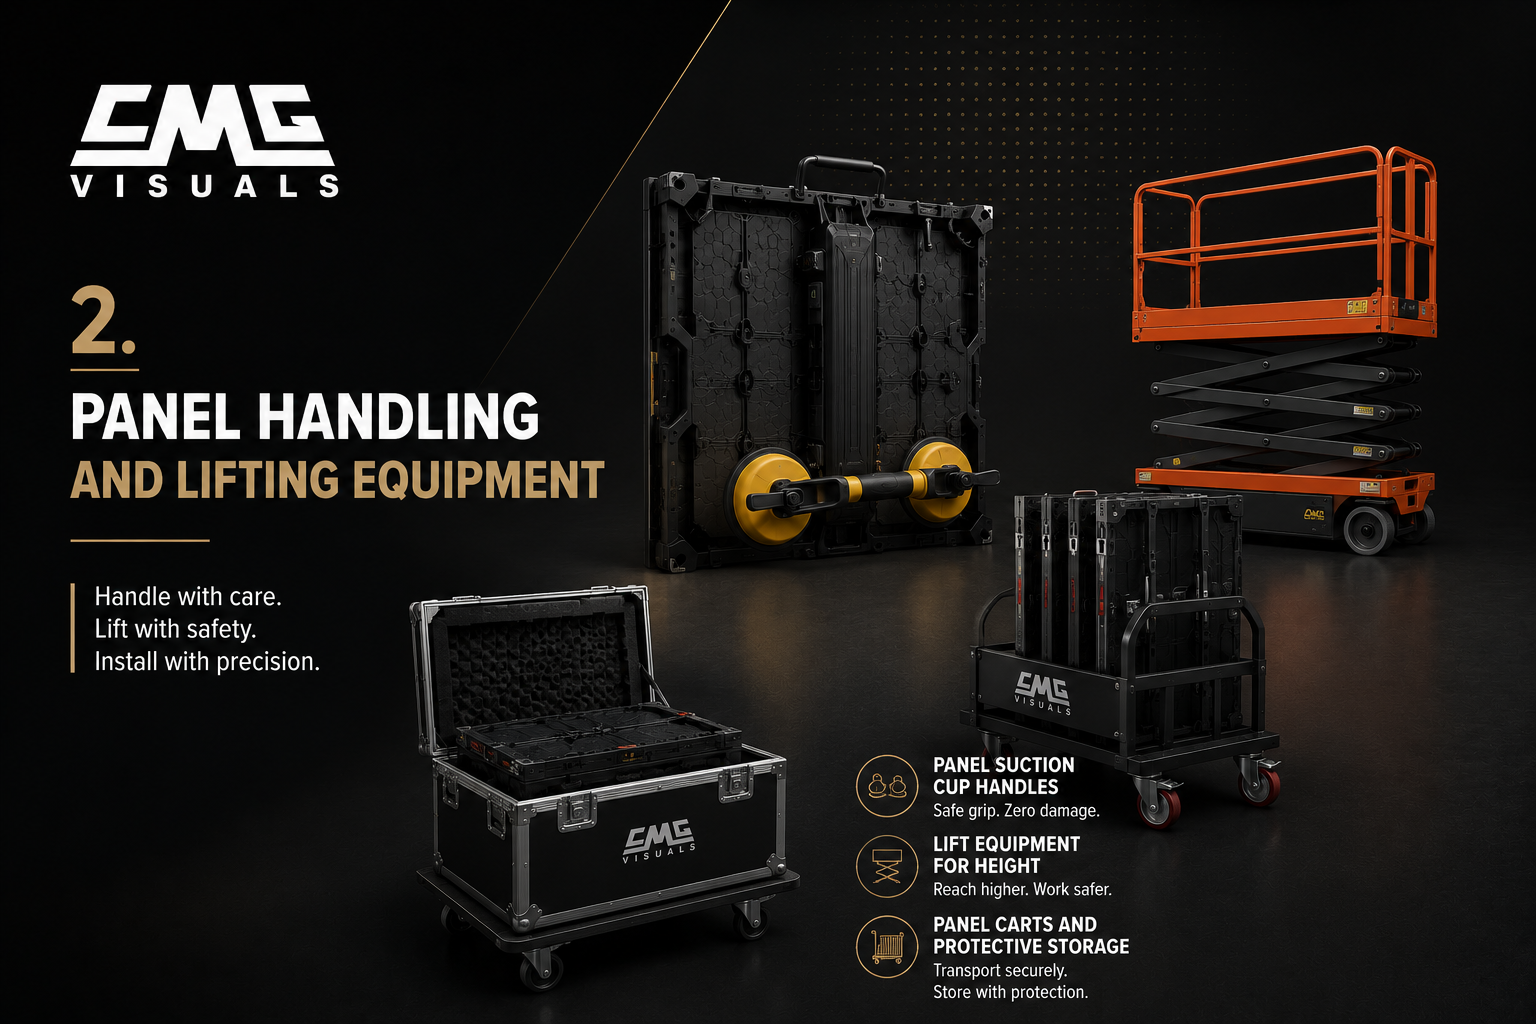
Panel Suction Cup Handles
Suction cup handles allow technicians to grip and position panels without touching the LED surface or the ribbon cable connectors on the back. They distribute handling force evenly across the panel frame and make precise positioning much easier, especially when working at height.
Lift Equipment for Large Installations
For video walls mounted above standing height, a scissor lift, articulating boom lift, or panel lift tool is required. Trying to install upper rows of panels from a standard ladder creates safety hazards and makes precise alignment nearly impossible. On large commercial installations across the DFW area, we always have proper lift equipment on site before the job starts.
Panel Carts and Protective Storage
Panels need to be transported from delivery point to installation area without damage. Padded panel carts or foam lined transport cases protect the modules during movement on site. Stacking panels without protection between them is one of the most common ways pre-installation damage occurs.
3. Electrical and Power Distribution Tools
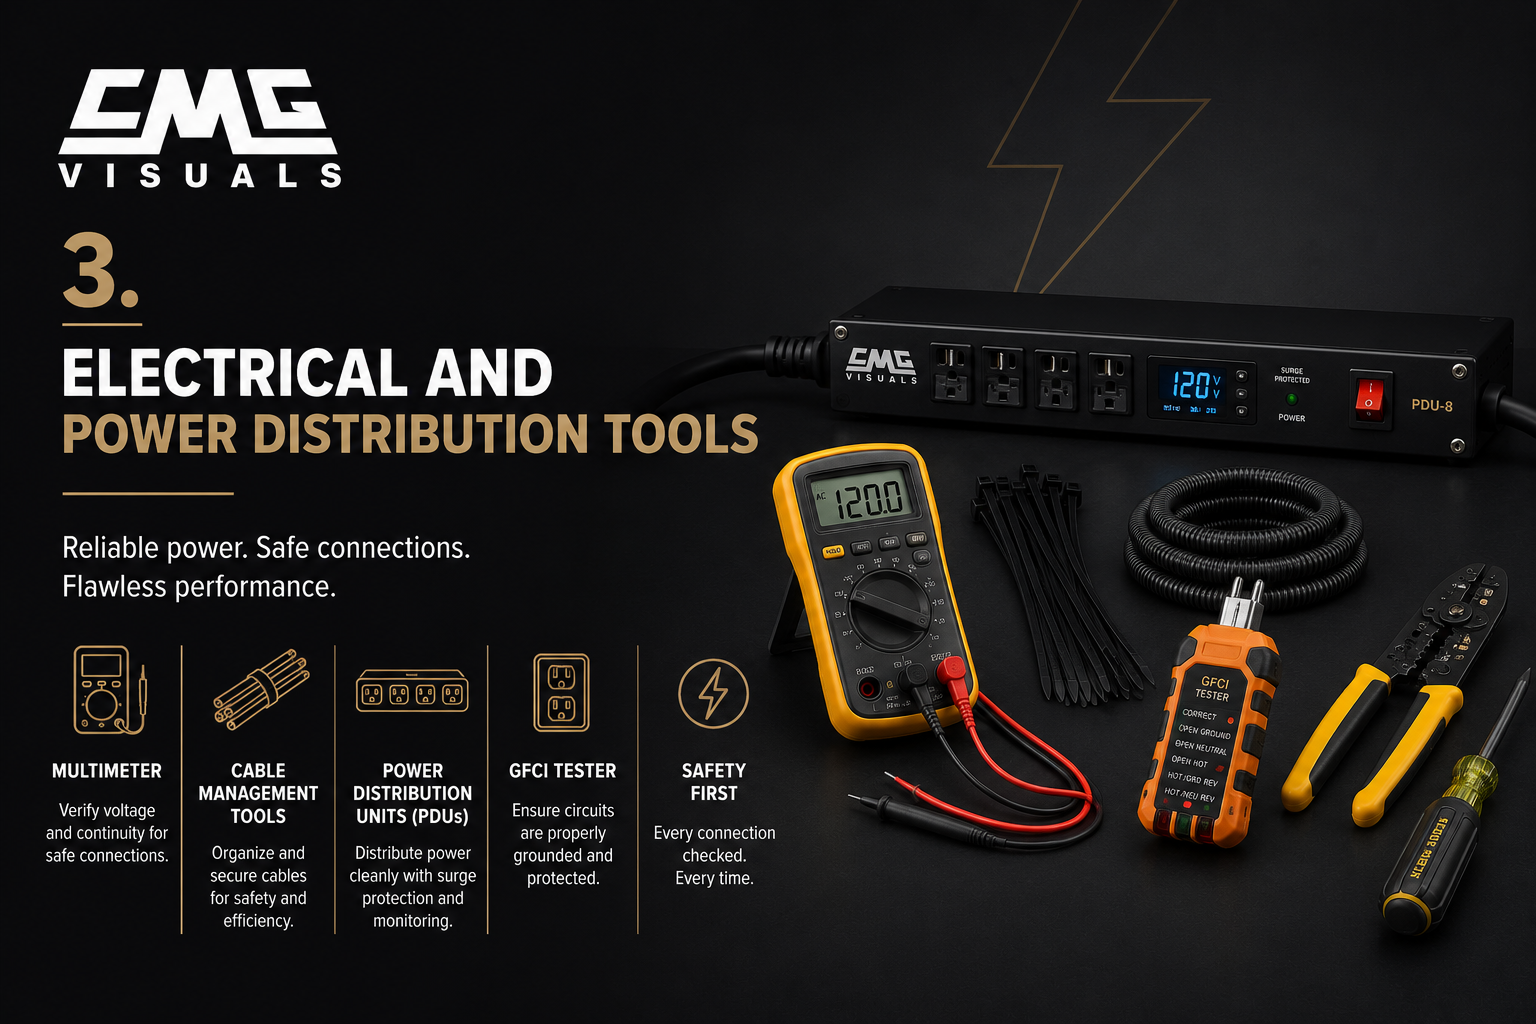
A video wall draws significant power. Ensuring that power is delivered cleanly, safely, and consistently across every panel is a core part of the installation, and it requires the right electrical tools and planning.
Multimeter
A multimeter is used to verify voltage at each power connection point before panels are connected. It confirms that the incoming power supply is within spec and that there are no voltage drops across the distribution chain. Every professional installer should have one on every job.
Cable Management Tools
Clean cable routing is not just about aesthetics. Poor cable management causes signal interference, creates tripping hazards, and makes future servicing unnecessarily difficult. Cable management tools include fish tape for routing cables through walls or conduit, cable ties and raceways for organizing runs, and punch down tools for terminating network and data connections.
Power Distribution Units (PDUs)
Video walls with many panels require power distribution units that split a single power source into multiple clean outputs. PDUs also provide surge protection and, in some configurations, remote monitoring. This is especially important for permanent fixed LED display installations where the screen runs continuously and power quality directly affects lifespan.
Ground Fault Circuit Interrupter (GFCI) Tester
Before any power connections are finalized, a GFCI tester verifies that circuits are properly grounded and that there are no reverse polarity issues. This is a basic safety check that should never be skipped on any installation involving powered display hardware.
4. Signal and Data Cabling Tools
The signal chain is what carries your content from the media source to every panel on the wall. Weak connections, incorrect cable types, or poor terminations at any point in that chain result in flickering, signal dropout, or color errors that look like panel defects but are actually cabling issues.
Network Cable Crimping and Testing Tools
Many modern LED video wall systems use Ethernet based data cables to carry control signals between panels and from the video processor to the receiving cards. A professional crimping tool and a cable tester confirm that every connection is properly terminated and that there is no signal loss before panels are powered on.
HDMI and DisplayPort Signal Testers
Before connecting a video processor to the source, HDMI and DisplayPort signal testers confirm that the content signal is clean and at the correct resolution and refresh rate. A signal issue from the source is easy to fix before installation is complete but much harder to diagnose after everything is mounted.
Fiber Optic Tools for Long Cable Runs
On larger installations where the video processor is far from the display, or where the signal needs to travel through conduit across a building, fiber optic cabling is used instead of copper. Fiber requires its own set of tools: fiber strippers, cleavers, and an optical power meter to verify signal strength across the run.
5. The Video Processor
The video processor is the brain of the entire installation. It takes the content signal from your source, scales it to match the native resolution of your LED wall, and distributes that signal to every receiving card across the panel array. Without the right processor, you cannot get a seamless, uniform image across the full display.
At CMG Visuals, we use NovaStar and ColorLight video processors on our installations. Both are industry leading systems that provide precise control over color uniformity, brightness, and signal mapping. Choosing the right processor for the screen resolution and panel count is a decision that gets made during the planning phase, not on install day. This ties directly into what we cover in our guide on how to budget for LED video wall installation.
Processor Configuration Software
Every video processor comes with configuration software that maps the physical layout of the panels to the video signal. Setting this up correctly requires a laptop or tablet, the manufacturer software, and someone who understands how the mapping process works. Incorrect mapping results in scrambled or mirrored content sections on screen.
6. Calibration and Testing Equipment
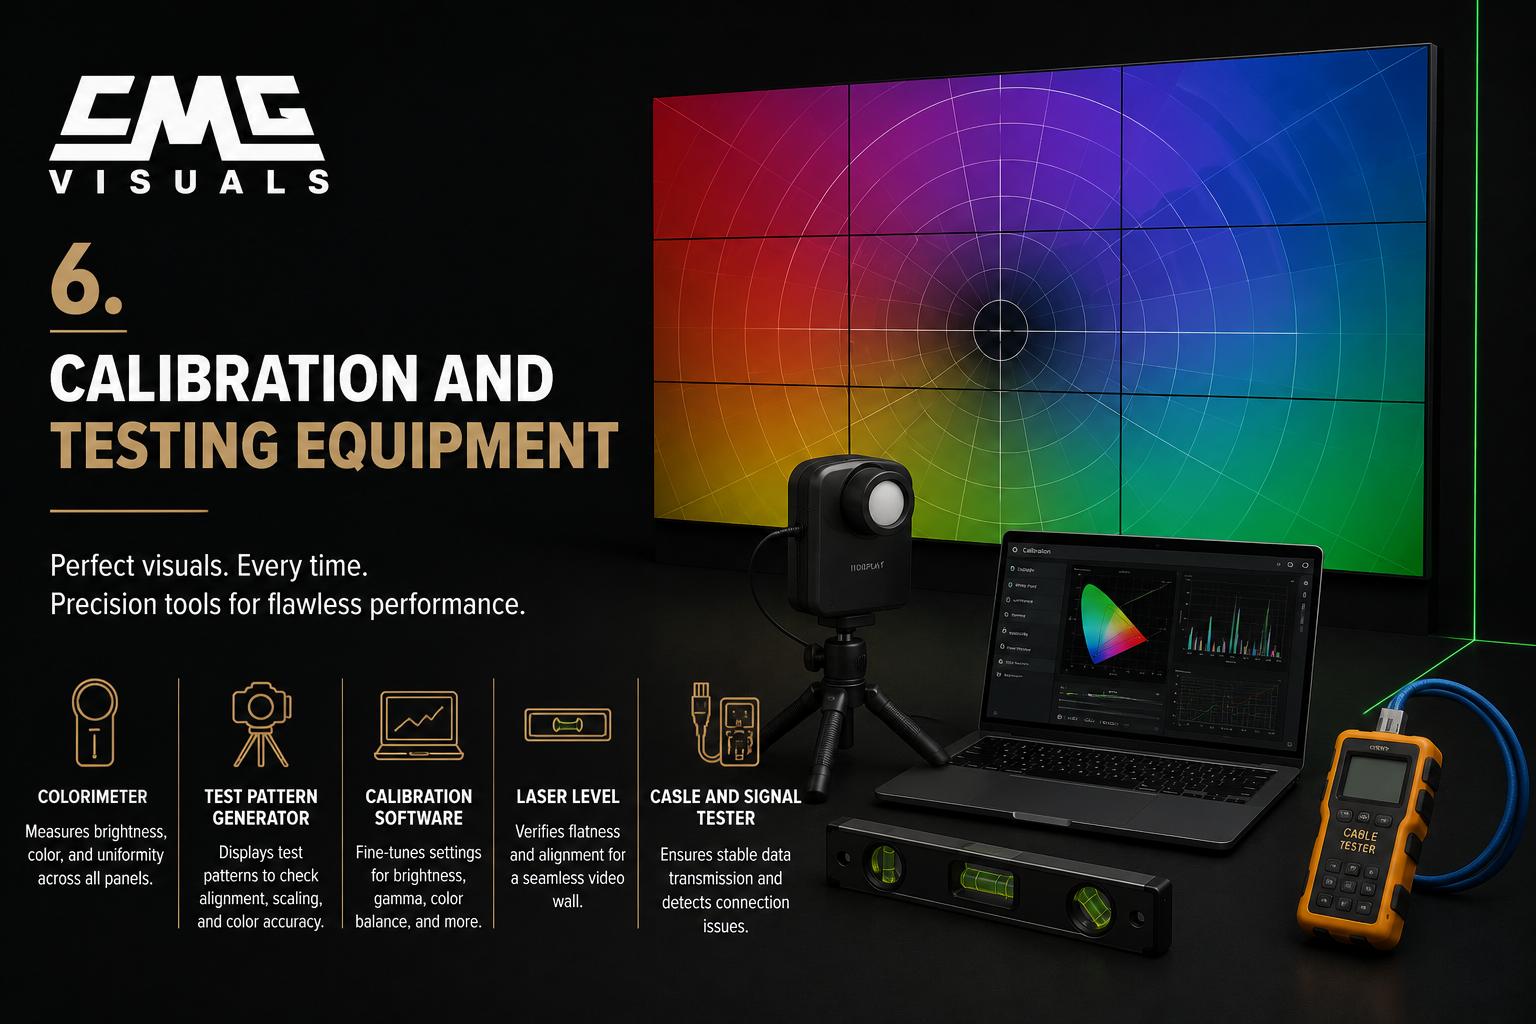
This is where a seamless video wall is actually made. You can have perfect panel alignment and clean cabling and still end up with a wall that has visible brightness variations or color mismatches between modules. Calibration tools correct these differences so the entire display looks like a single, uniform image.
Colorimeter or Spectroradiometer
A colorimeter measures the color and brightness output of each panel and feeds that data back into the processor's calibration software. The processor then adjusts each module individually so that white looks the same white across every panel, and brightness is uniform from edge to edge. This step is what separates a professional installation from an amateur one.
This matters most for fine pitch indoor installations. If you are not sure what pixel pitch means for your specific project, our guide on pixel pitch and why it matters for your display covers this in detail.
Uniformity Testing Software
After the colorimeter reading is complete, uniformity testing software generates a calibration file that is uploaded to the video processor. This file contains individual adjustments for every module on the wall. Most professional LED systems from reputable manufacturers support this process natively.
Test Pattern Generator
A test pattern generator outputs standardized color and grid patterns to the video wall so the installer can visually verify alignment, pixel mapping, and color uniformity before the wall goes live. Common test patterns include solid color fields, crosshatch grids, and grayscale ramps. No installation should be signed off without running a full test pattern sequence.
7. Hand Tools Specific to LED Installation
Beyond the specialized equipment above, a professional LED installation requires a core set of hand tools that are used throughout the job.
- Torque screwdriver: Panel mounting screws have specific torque requirements. Over tightening cracks panel frames and under tightening causes panels to shift over time.
- Hex key set: Many LED panel frames and mounting bracket hardware use hex fasteners in multiple sizes.
- Flush cutters and wire strippers: For trimming and terminating power and data cables precisely.
- Rubber mallet: Used carefully to seat panel connectors without applying direct force to the LED surface.
- Anti static wrist strap: Electrostatic discharge from an ungrounded technician can damage LED driver ICs that are not visible until the panel is powered on.
- Inspection mirror and flashlight: For checking connector seating and cable routing in tight spaces behind the panel array.
8. Safety Equipment
Installations that involve working at height, running electrical connections, or handling heavy structural components require proper safety equipment. This is not optional.
- Fall arrest harness for any work above six feet on a lift or scaffolding
- Non conductive insulated gloves when working around live electrical connections
- Safety glasses during drilling, cutting, and any overhead work
- Hard hat when working below other crew members or below suspended hardware
- Knee pads for ground level panel work and cable routing
If you are not sure whether a professional installation is the right approach for your project, our LED service and repair team is available to assess your space and advise on what the installation requires. We cover Dallas, Fort Worth, and the entire DFW Metroplex, and we also offer white label installation services for resellers and integrators.
9. Documentation and Project Management Tools
A seamless installation is not just a technical outcome. It is also a documented one. Every professional install should include a complete record of how the system was built so that future service calls can be handled efficiently.
Panel Layout Map
A panel layout map records the physical position of each module, its serial number, and which port on the receiving card it is connected to. When a module needs to be replaced down the road, this document eliminates guesswork and cuts service time significantly.
Cable Labels and Identification System
Every cable in the installation should be labeled at both ends. This makes troubleshooting and future servicing dramatically faster. Our LED screen maintenance guide covers why documentation and organized cabling directly affect the long term performance and lifespan of your display.
Installation Checklist
A formal sign-off checklist that covers every stage of the installation ensures nothing is missed before the system goes live. At CMG Visuals, every installation ends with a structured walkthrough and client sign-off before our team leaves the site.
Frequently Asked Questions
Can I install a video wall myself without professional tools?
Small plug and play displays designed for residential use can sometimes be self installed. However, any commercial grade LED video wall installation requires professional tools, proper structural mounting, and calibration equipment. Attempting a professional installation without the right tools risks panel damage, safety hazards, and a result that does not look seamless. For commercial projects in Dallas and DFW, our installation team handles all of this for you.
What is the most important tool in a video wall installation?
If we had to pick one, it is the laser level. Misalignment between panels is the most visible flaw in any video wall, and it cannot be corrected after the mount is in place. Everything else flows from getting that first level reference line exactly right.
How long does a professional video wall installation take?
A small to medium indoor installation typically takes one to two days including mounting, cabling, processor setup, and calibration. Larger installations with many panels, complex rigging, or multiple rooms can take three to five days or more. Site preparation before install day adds additional time.
Do I need a video processor for every LED wall installation?
Yes. Every LED video wall requires a video processor to map the content signal to the panel array and maintain uniform image quality. The processor model depends on the screen resolution and the number of panels. You can learn more about how these components fit into the overall cost in our guide on what is an LED video wall.
Does CMG Visuals provide all installation tools and equipment?
Yes. When you hire CMG Visuals for an installation, we bring every tool, every piece of mounting hardware, the video processor, calibration equipment, and all cabling. You do not need to source anything separately. Contact us today and we will walk through your project and give you a clear scope and quote.
The Bottom Line
Installing a seamless video wall is a multi stage process that requires the right tools at every step. From structural assessment and panel handling to signal calibration and documentation, each tool on this list serves a specific purpose in achieving a result that looks professional and performs reliably over time.
Skipping steps or substituting the wrong tools for the right ones shows up immediately on screen and creates problems that are expensive to fix after installation is complete. The difference between a display that looks seamless and one that has visible panel mismatches or color inconsistencies almost always comes down to what tools were used and whether the installer knew how to use them correctly.
CMG Visuals handles LED wall installations across Dallas, Fort Worth, Frisco, Plano, and the entire DFW Metroplex with a full professional tool kit and a team that has completed installations in churches, corporate offices, retail showrooms, broadcast studios, and event venues. If you are planning a video wall project, get in touch with our team and we will make sure it gets done right.