Introduction
Permanently installing an LED wall demands far more than hanging a TV. The process involves structural load calculations, dedicated power circuits, and precise calibration work.
Get any of these wrong, and the consequences aren't cosmetic. Panels can sag, warp, or create visible seams. Electrical shortcuts can create real safety hazards. Manufacturer warranties can be voided outright.
Small, lightweight displays might be manageable for a handy DIYer. But permanent walls in commercial buildings, broadcast studios, or houses of worship need trained installers or certified LED engineers involved from day one.
This guide walks through the complete, correct process for a permanent LED wall installation, covering everything from prerequisites to post-install validation, and flags exactly where it's time to bring in a specialist.
Key Takeaways
- Install complexity ranges from moderate to highly technical based on wall size and location
- Structural load verification and dedicated electrical circuits are non-negotiable prerequisites
- The core sequence: site prep, mounting, alignment, wiring, and calibration
- Post-install validation catches problems before they become expensive service calls
- Larger or high-visibility installs need certified technicians to protect performance and warranty
Installation Guide for an LED Wall
A permanent LED wall install follows a defined path: site preparation, mounting structure, panel installation, power and data integration, calibration, and validation. Skip a step, and you'll likely pay for it later in rework.
Timelines vary widely. A small indoor wall might take a few days. A large custom outdoor build can stretch several weeks and typically requires coordination between electricians, structural installers, and AV technicians working in sequence, not isolation.
Prerequisites and Safety Considerations
Before any panel goes up, three things need to check out: structure, electricity, and compatibility.
Structural readiness comes first. The wall or supporting frame must be verified to bear the full weight of the cabinets or modules, plus any frame hardware.
Published commercial LED specs show real variation. For example, LG's LSCA fixed series lists panel weights between 23.5 and 40 kg per square meter, depending on the model. Frame weight is often listed separately, so don't assume it's baked into the panel figure.
For projects like the Houston Sports Authority lobby display, CMG Visuals evaluated the existing structure before deciding whether to reuse or reinforce it.
Electrical requirements are just as strict. Dedicated circuits, correct voltage, and proper grounding aren't negotiable. Manufacturer power draw figures for fixed cabinets can range anywhere from roughly 146 to over 600 watts per square meter, depending on the model and content brightness, so load planning has to use the actual product specs, not a generic assumption.
Grounding and bonding both matter: NFPA notes that NEC Article 250 governs grounding and bonding as separate functions, and skipping either one creates real shock and fire risk.
Compatibility checks round out the list:
- Match pixel pitch to expected viewing distance
- Confirm the control processor and receiver cards support your panel count and resolution
- Verify firmware consistency if mixing panel batches
Do not proceed if the mounting surface can't confirm load-bearing capacity, if the electrical infrastructure isn't code-compliant, or if there's no engineering sign-off for large or outdoor builds.
Tools and Parts Required
Every permanent install needs a core parts list:
- LED cabinets or modules matched to the project's pixel pitch
- Mounting brackets or a steel support frame
- Power supplies sized to the panel count
- Data cables, such as Ethernet, HDMI, or DVI, depending on the processor
- Receiver cards and a control processor (CMG Visuals typically works with NovaStar and ColorLight systems)
Larger builds add specialized tools: laser levels for alignment and torque wrenches for consistent bolt tension. Steel-frame builds also require welding equipment and structural fasteners.
One rule matters more than any tool list: structural components like brackets, bolts, and connection plates should never be substituted for cheaper alternatives. Cable management accessories, on the other hand, can flex based on the space and budget.
Step-by-Step Installation Process
Installation follows a defined sequence. Rushing or skipping steps here is the single biggest cause of misalignment and rework later on.
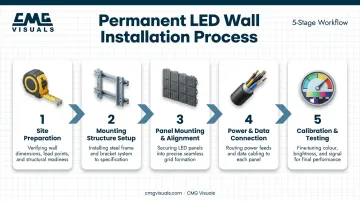
- Prepare the site. Confirm final measurements, clear the installation area, and verify power and network access points are already in place before hardware arrives.
- Build and secure the mounting structure. Install the steel frame or brackets, anchor everything per manufacturer load specs, and check for level before touching a single panel.
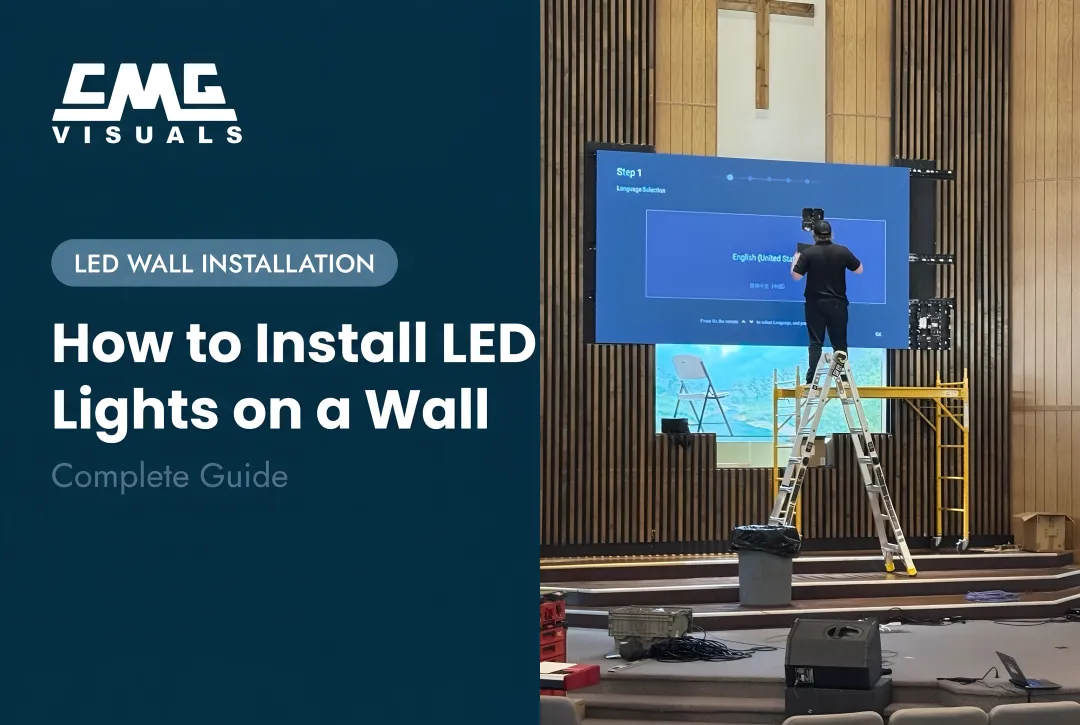
- Mount and align panels. Start from one corner and work outward, securing cabinets with connection plates and bolts with zero visible gaps between units. CMG Visuals used this approach on a dual 178-inch LED wall at Mansfield Church of Christ, running 2.5mm pixel pitch panels off a NovaStar V600 processor.
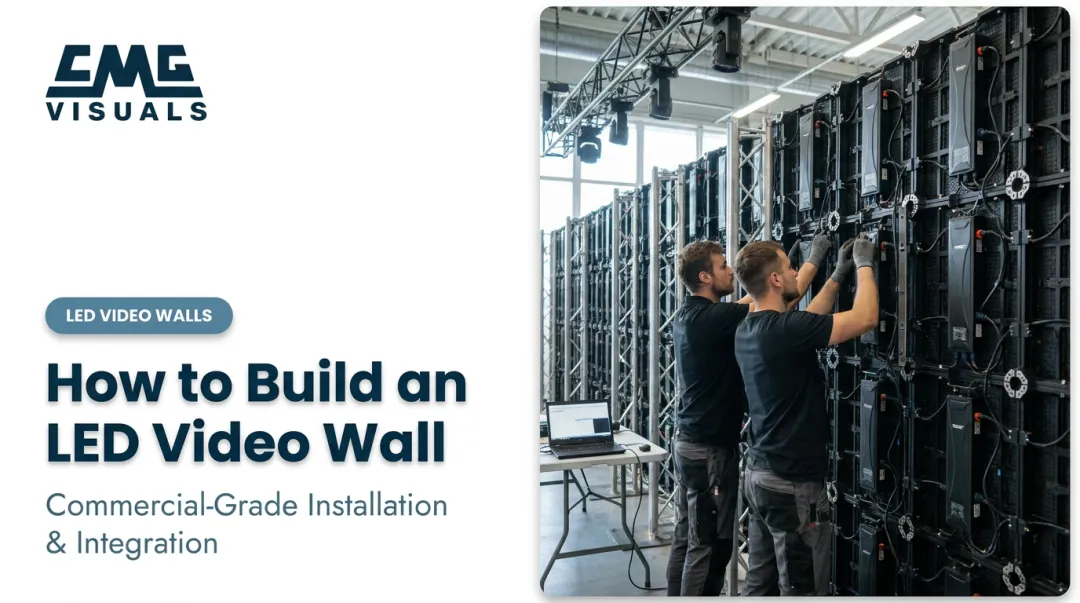
- Connect power and data. Wire dedicated circuits to power supplies, daisy-chain cabinets only within manufacturer-specified limits, and route data cables from the control processor to the panels.
- Configure and calibrate. Use the manufacturer's control software to map receiver cards, calibrate brightness and color uniformity, and run a test pattern before loading live content. On a 163-inch 4K wall for WAC Lighting, CMG Visuals ran this test pattern across all 36 panels to confirm synchronization before handoff.
Post-Installation Checks and Validation
Don't call the job done until validation is complete. This step catches problems that visual inspection alone will miss.
Visual and structural checks come first: inspect for gaps, flatness issues, and confirm the frame is still level and secure after panels are loaded onto it.
Functional testing follows a documented process. AVIXA's Performance Verification Guide calls for grid test patterns to check alignment, full-screen uniformity checks, and pixel inspection across three failure types: full-bright, full-dark, and defective sub-pixels.
Uniform brightness and color across the wall signals a correct install, while flickering or uneven zones point to wiring or calibration issues that need fixing before go-live.
Skipping validation is a real gamble. Loose connections or electrical faults often don't show up immediately. They surface weeks later as intermittent failures, usually at the worst possible moment.
Common Installation Problems and Fixes
Three issues account for the majority of post-installation complaints on permanent LED walls. Here's how to spot and fix each one.
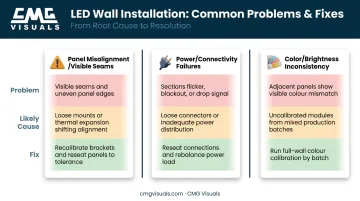
Panel Misalignment or Visible Seams
Problem: Gaps or an uneven surface between adjacent panels.
Likely cause: Installers didn't level the frame properly, or mounted panels too quickly without checking alignment along the way.
Fix: Use laser leveling tools, recheck brackets, and adjust connection plates before finalizing the install. Don't wait until the whole wall is up to catch this.
Power or Connectivity Failures
Problem: Sections of the wall go dark, flicker, or lose signal entirely.
Likely cause: An overloaded circuit, a loose data cable, or exceeding daisy-chain limits per power line. Manufacturer chain limits vary widely — some models allow only 4-6 cabinets per chain at 110V versus double that at 220V.
Fix: Verify power load calculations per cabinet, reseat every cable connection, and redistribute supplies across additional circuits if needed.
Color or Brightness Inconsistency
Problem: Some panels look brighter or a different hue than their neighbors.
Likely cause: A skipped calibration step, or a mixed batch of panels running different firmware versions.
Fix: Run a full recalibration through the control software and confirm firmware consistency across every receiver card before accepting the install as complete. Catching these details before final walkthrough is standard practice for CMG Visuals' NovaStar-certified installation teams.
Pro Tips for Installing an LED Wall Effectively
A few habits separate a smooth install from a rocky one:
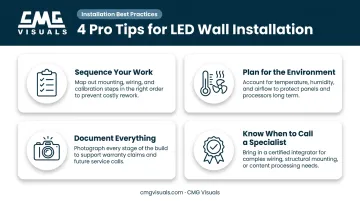
- Sequence your work. Complete all structural and electrical work fully before mounting a single panel. This avoids costly rework and keeps overall install time down.
- Plan for the environment. Adequate ventilation matters everywhere; enclosed spaces like broadcast studios or houses of worship also benefit from climate control to protect components long-term.
- Document everything. Photograph wiring layouts and save receiver card mapping and configuration files. This documentation proves essential the next time the wall needs servicing.
- Know when to call a specialist. For walls above a certain size, or in high-visibility permanent settings, certified engineers protect both performance and your warranty.
CMG Visuals' team includes NovaStar-certified LED engineers, and every wall we sell comes with a 5-year hardware warranty and lifetime product support.
Conclusion
Installation quality is what actually determines a permanent LED wall's performance, safety, and lifespan. A great panel installed poorly still fails poorly.
Careful preparation, disciplined execution, and thorough validation determine whether that wall performs for years or fails early. If you'd rather have that handled by people who do it daily, CMG Visuals can help. The team offers support from design through installation for organizations that want expert guidance on a permanent LED wall project.
Frequently Asked Questions
How much does it cost to install an LED wall?
Cost varies based on wall size, pixel pitch, indoor versus outdoor use, and installation complexity. Professional installation adds to the upfront hardware cost but reduces long-term risk and rework expenses.
How are LED walls installed?
The core process involves building a mounting structure, aligning and securing panels, wiring power and data connections, and calibrating brightness and color through control software like NovaLCT before content goes live.
Can I install an LED wall myself?
Small, lightweight displays can be DIY-friendly for a handy owner. Larger permanent walls involve structural load calculations and electrical work that require professional expertise to do safely.
How long does it take to permanently install an LED wall?
Timelines range from a few days for small walls to several weeks for large custom-built installations, depending on site prep, structural work, and calibration complexity.
What's the difference between a permanent LED wall and a rental LED wall?
Permanent walls prioritize fixed mounting, durability, and precise calibration for long-term use. Rental units use modular, quick-assembly hardware designed for repeated setup and teardown.
Do LED walls need special electrical wiring?
Yes. Dedicated circuits, proper grounding, and accurate load calculations based on the specific panel model are required for safe, stable operation over the wall's lifespan.